This guide walks you through the first setup in micali.online, from opening the demo to sharing your first booking link with customers.
The goal is not to configure every advanced setting on day one. The goal is to get a working account, create one bookable service or event, check the messages customers will receive, and share the link confidently.
If you want the broader thinking behind online booking, read our complete online booking setup guide. This article is the product-specific walkthrough.
1. Open the demo
Start at app.micali.online and choose the demo option. The demo lets you explore the system without building your permanent account first.
When the demo gives you a PIN, save it somewhere safe. In a demo account, that PIN is the way back into the same workspace.
2. Go to Account and set up your business basics
Open Account from the left menu. This is where you set the public identity of the booking account.
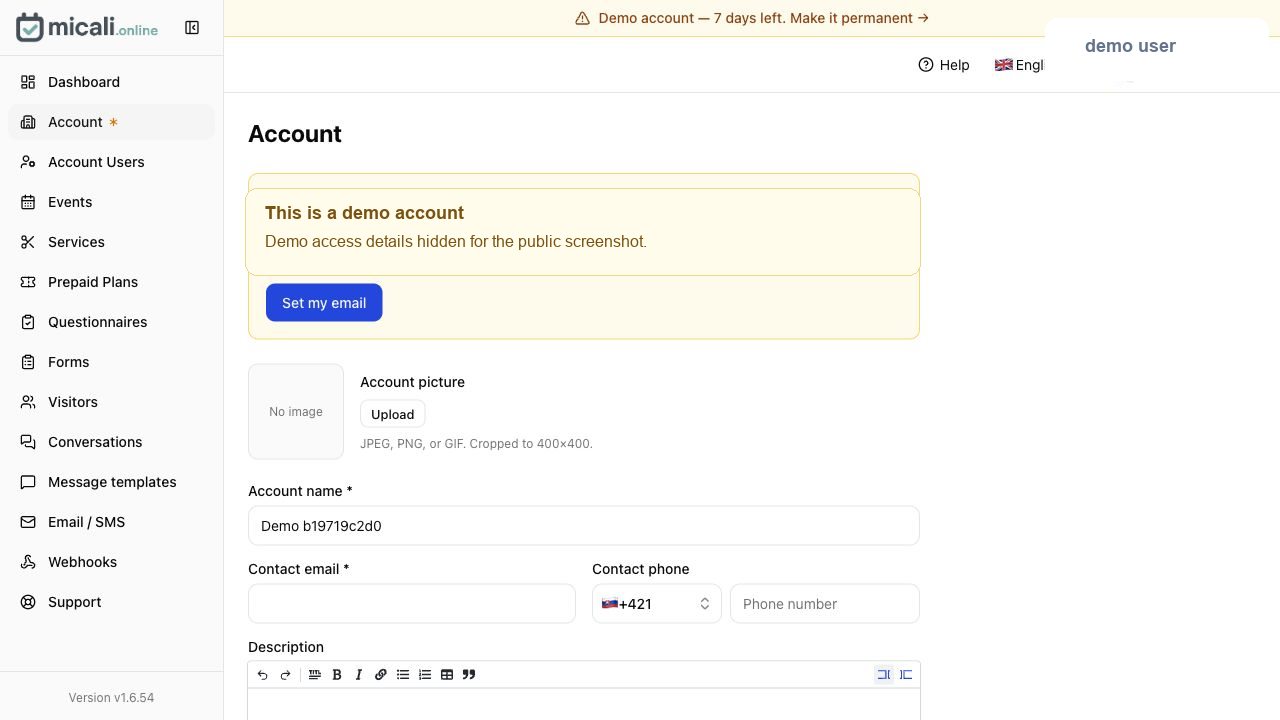
At minimum, check these fields:
- Account name: the name customers should recognize.
- Contact email: where customers can reach you.
- Contact phone: optional, but useful for local service businesses.
- Description: a short public explanation of what you offer.
- Links: website, Instagram, Facebook or other public profiles.
- Language and timezone: especially important for reminders and appointment times.
If you set a custom subdomain, treat it as part of your public brand. It may need approval before it becomes active, so do this early rather than right before launch.
3. Set and verify your email
Still in the account area, use Set my email or the account/profile prompt to add a real email address. This is what turns a temporary demo into something you can keep and trust.
After entering the email, verify it from your inbox. If the email does not arrive quickly, check your spam or promotions folder. This step matters because unverified email can block account recovery or permanent setup later.
4. Add either an Event or a Service
Next, decide what you are creating first:
- Use Services for appointment-style bookings: consultations, treatments, lessons, calls, repairs or one-to-one sessions.
- Use Events for classes, workshops, webinars or anything where multiple people can book the same time.
If you add a Service
Open Services and create a new service. Each service can have multiple procedures, so do not put every variation into a separate service if they belong together.
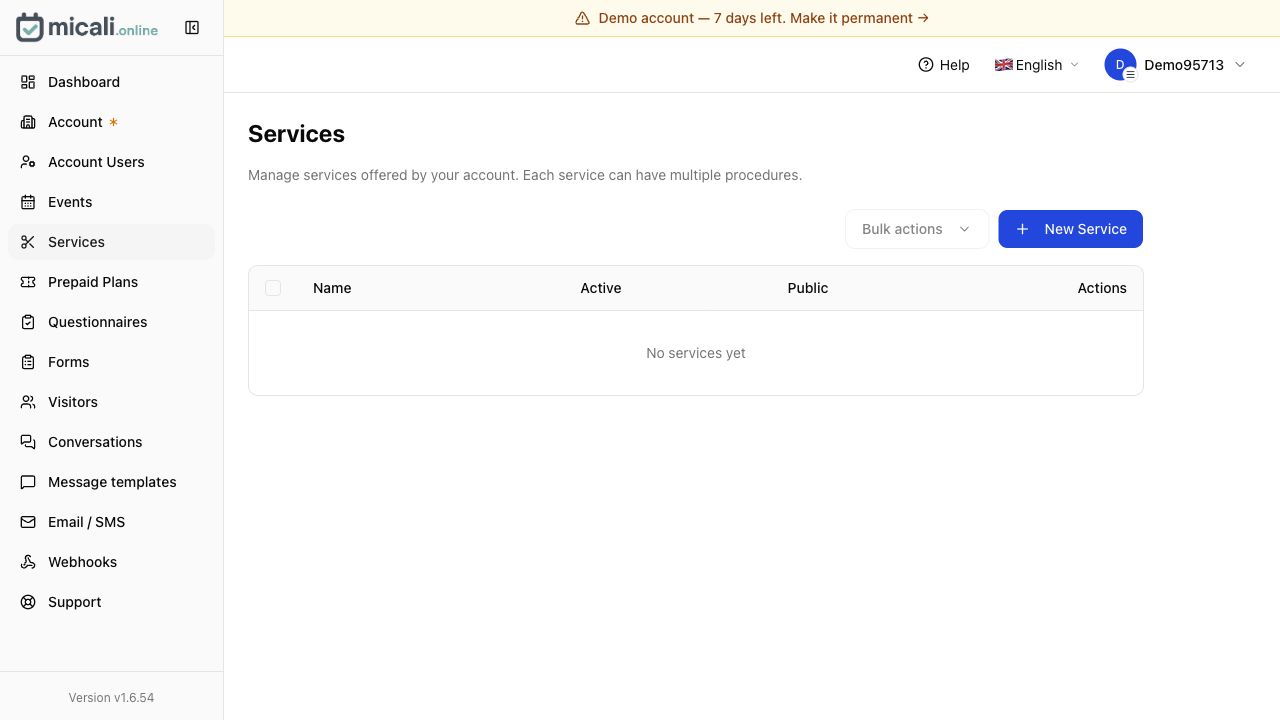
For example, a salon service might contain procedures such as haircut, haircut and beard, consultation or color correction. A tutor might use procedures for 30-minute, 60-minute or trial lessons.
For each procedure, set the duration carefully. Bad durations create calendar problems later.
If you add an Event
Open Events and create a new event. Events are useful when the same session can accept multiple visitors, or when you repeat the same format at different dates or locations.
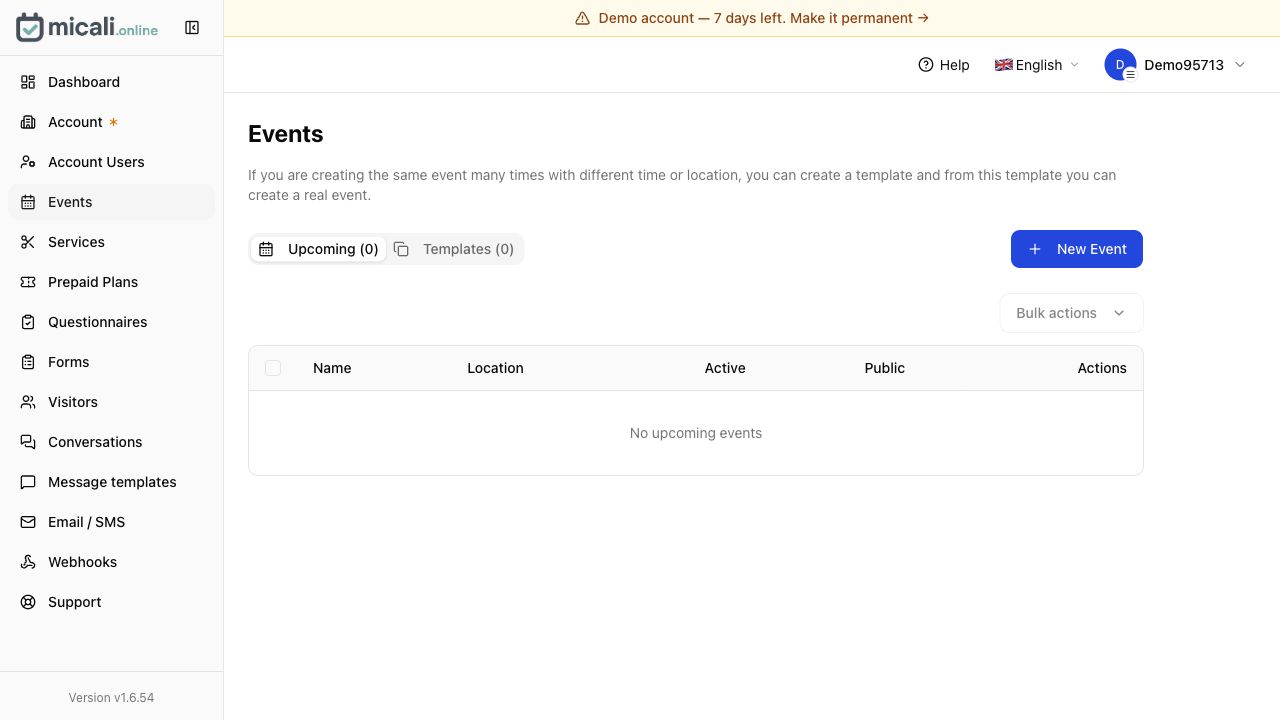
If you plan to run the same event again and again, create a template first, then create real upcoming events from that template.
4.1. Read the Message templates before customers book
Before sharing anything publicly, open Message templates. Do not skip this. These templates control the emails and SMS messages customers may receive for confirmations, reminders, cancellations, payment reminders, waitlist updates and similar moments.
Read the default templates first. Check whether they match your tone, whether they mention the right action, and whether the merge fields make sense. You do not need to rewrite everything immediately, but you should understand what the customer will see.
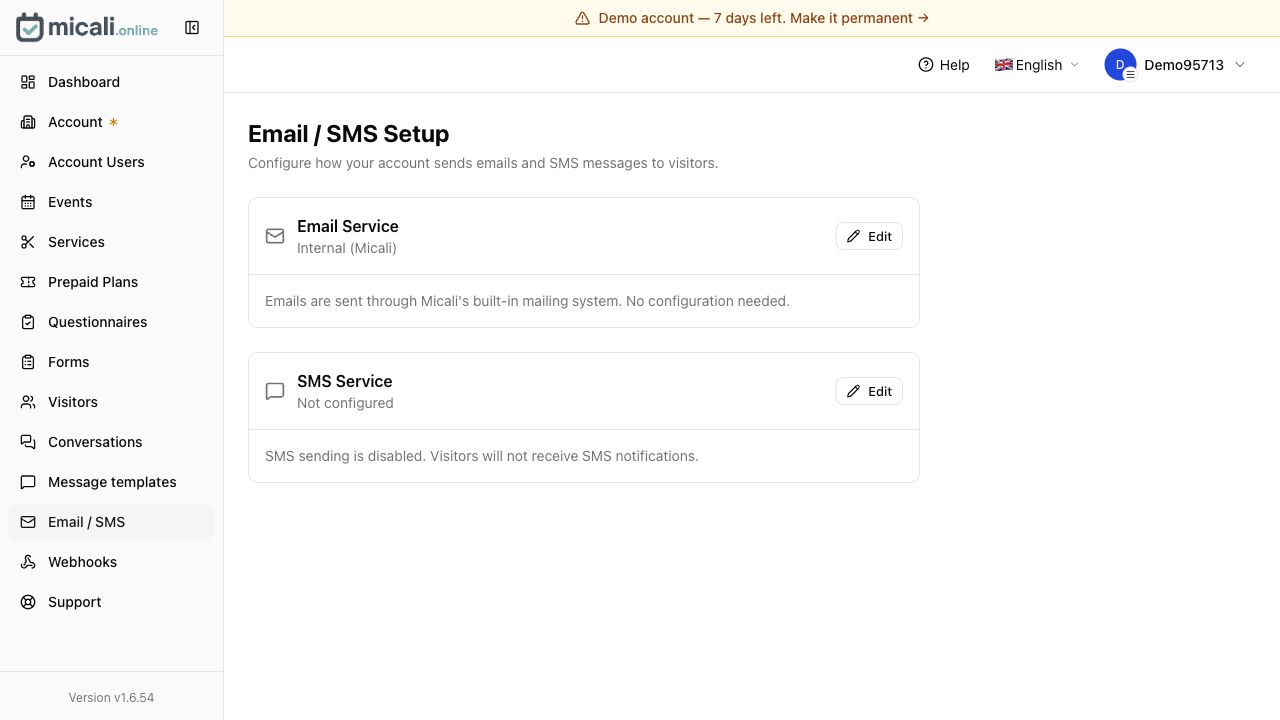
Then open Email / SMS and check how messages are delivered.
5. Set the actual dates and times
This is where the process differs depending on whether you created a service or an event.
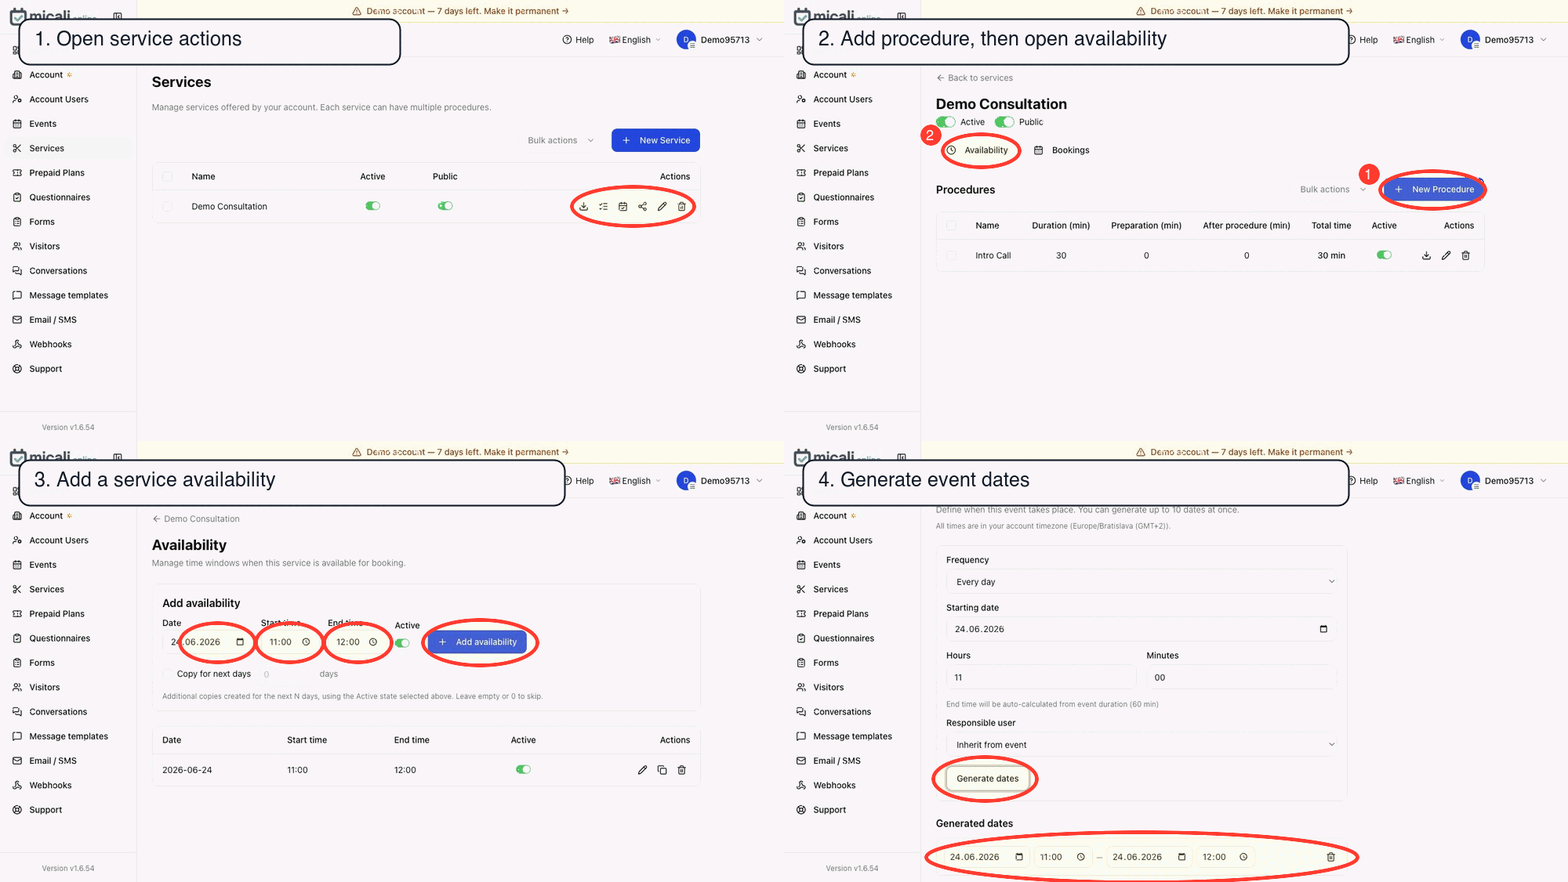
For a service
You are usually setting availability: when the service can be booked, who can provide it, how long procedures take, and whether there is buffer time before or after appointments.
Think like a real calendar, not like a blank spreadsheet. Leave room for breaks, cleanup, preparation and travel if needed.
For an event
You are usually setting a concrete date, time, location and capacity. If the event repeats, use templates so you do not rebuild the same setup every time.
For classes and workshops, capacity is part of the customer experience. Do not overbook just because the form allows it.
6. Check the Visitors page
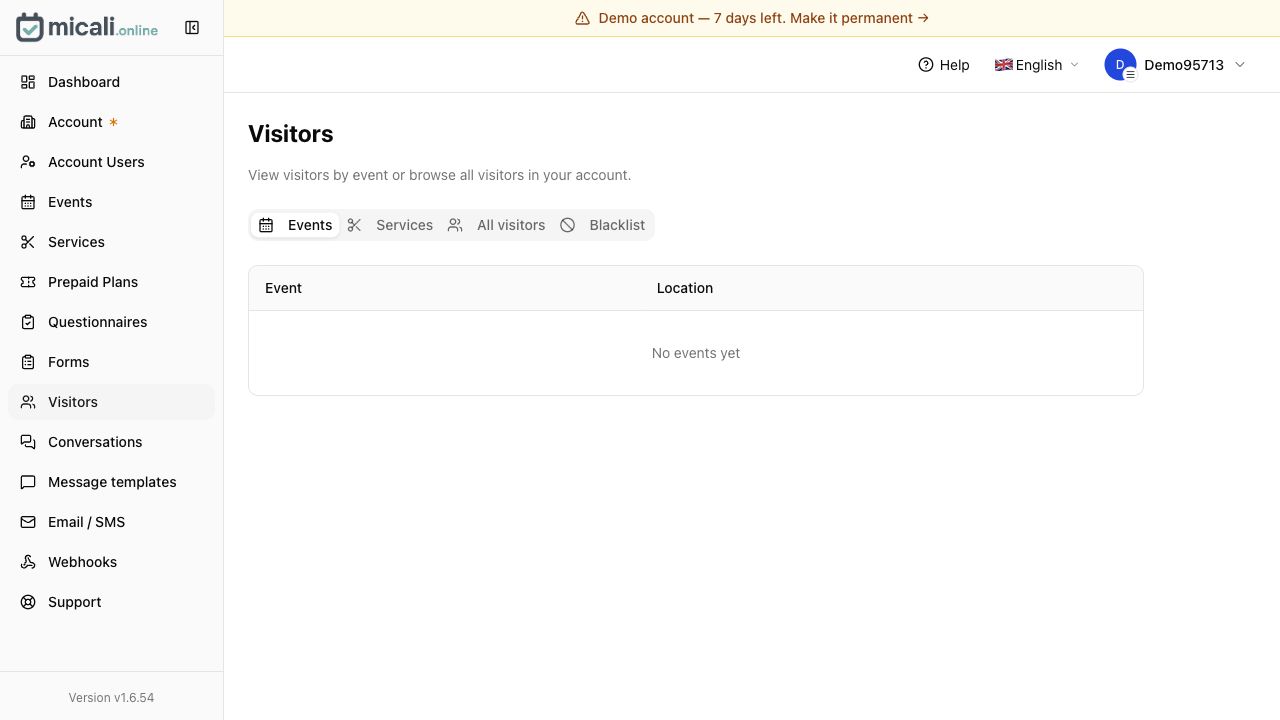
Open Visitors after you create your service or event. This is where you can review visitors by event or service, browse all visitors, and keep an eye on who has interacted with your booking flow.
Each event or service has its own share link. Use that specific link when you want customers to book a particular thing, instead of sending everyone to a generic page and making them search.
7. Share the link or QR code with customers
Once your test booking flow looks good, share the booking link where customers already look:
- website button,
- Instagram bio,
- Facebook page,
- Google Business Profile,
- email signature,
- SMS replies,
- printed QR code at reception,
- posters, flyers or appointment cards.
If you have a QR code, test it with your own phone before printing it. Make sure it opens the right event or service, not an old test page.
8. Wait for the first customer, then check the flow
After sharing the link, wait for the first booking and then check the whole journey:
- Did the visitor appear in the right place?
- Did the confirmation message make sense?
- Did the time and timezone look correct?
- Did the customer know what to do next?
- Was anything confusing enough that they contacted you anyway?
That first real booking is your best test. If something feels unclear, fix it before sending the link to more people.
Quick launch checklist
- Open demo and save the PIN.
- Set account name, contact details, language and timezone.
- Set and verify your email address.
- Create one service or one event.
- For services, set procedures and durations.
- Read message templates before publishing.
- Set real availability or event dates.
- Check Visitors and share links.
- Test the link or QR code from your phone.
- Share it with customers.
Bottom line
The fastest way to start with micali.online is to keep the first setup narrow. Create one real thing customers can book, make sure the messages are clear, test the link, and only then expand into more services, events, forms and automations.