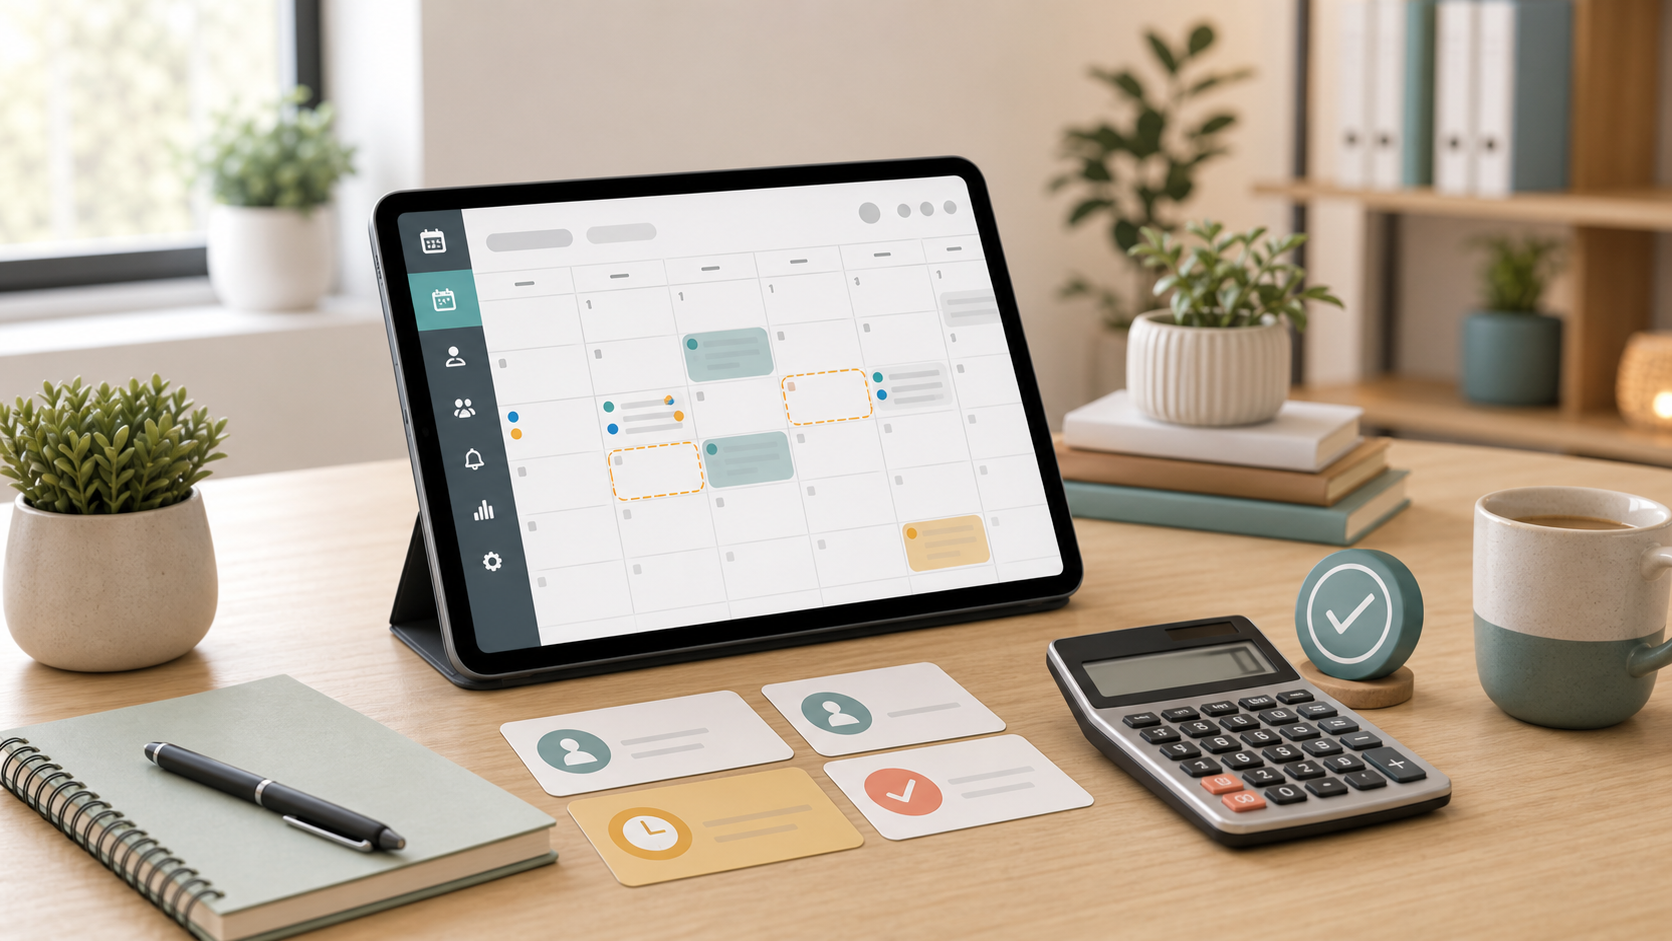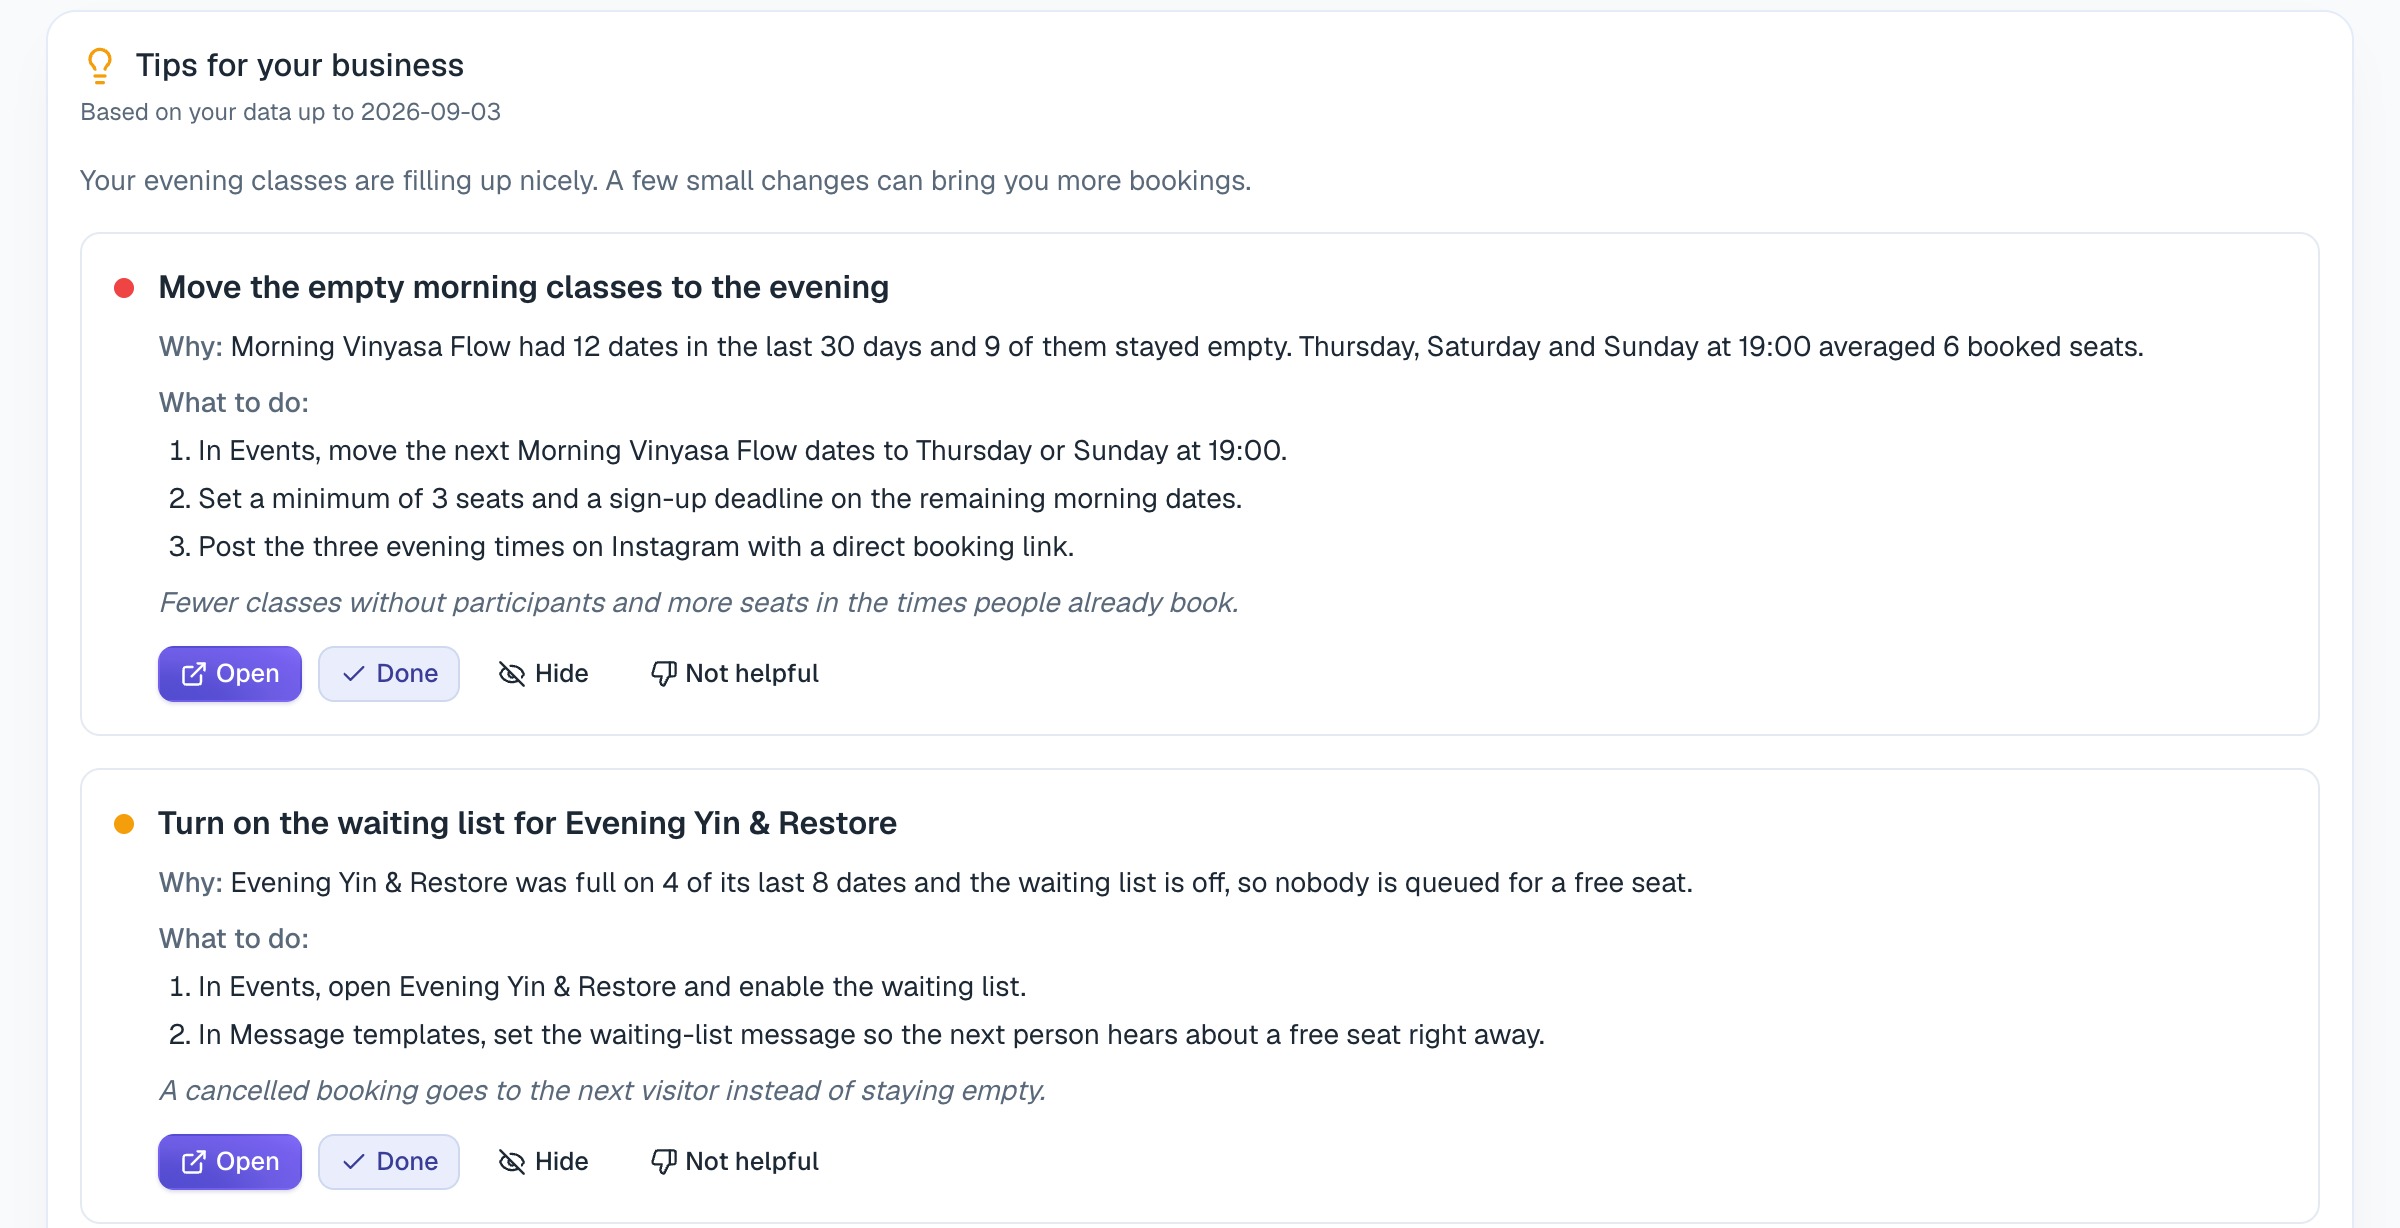

A workshop booking page has to do more than collect a name and email. It needs to help someone decide, reserve the right number of seats, understand what happens next, and actually show up on the day.
The mistake many small businesses make is treating a workshop like a normal appointment. It is not. A workshop has capacity, preparation, group timing and often a stronger need for reminders.
This workshop setup is one version of a broader booking workflow. For the full small-business checklist, see our complete online booking setup guide.
Start with the promise
Before the date picker, make the offer clear. A visitor should understand three things in a few seconds:
- what the workshop is about,
- who it is for,
- what they will leave with.
For example, “Beginner gel manicure workshop” is clearer than “Nails workshop”. “Learn to take better product photos with your phone” is clearer than “Photography class”.
Show the practical details early
Do not hide basic details in a long paragraph. Put them close to the booking action:
- date and start time,
- duration,
- location or online access details,
- available seats,
- price or free entry,
- what is included,
- what the attendee should bring.
Use capacity deliberately
Capacity is not just a technical limit. It shapes the experience. A hands-on class may need fewer seats than a lecture-style event. If the workshop needs individual feedback, keep the number smaller and say so on the page.
If a class often sells out, use a waitlist instead of simply showing “fully booked”. A waitlist gives interested people a next step and helps you fill cancelled seats later.
Make the confirmation email useful
A good workshop confirmation should answer the questions people ask the day before:
- “Where do I go?”
- “When should I arrive?”
- “Do I need to bring anything?”
- “Can I cancel or transfer my seat?”
- “Who do I contact if something changes?”
For wording ideas, adapt one of our booking confirmation email templates.
Send two reminders
For most workshops, two reminders are enough: one 24 hours before and one short reminder on the day. The first can include useful details. The second should be short: time, location and link if needed.
Use a waitlist for cancelled seats
If someone cancels, offer the seat to the next suitable person quickly. Give them a clear deadline, such as one or two hours, before moving to the next person. That keeps the process fair and avoids slow back-and-forth messages.
For a deeper setup, read how to use a waitlist to fill cancelled appointments.
A simple workshop booking checklist
- One clear workshop title
- Short description of the outcome
- Date, time and duration
- Seat limit
- Price and what is included
- Location or online access instructions
- Cancellation rules
- Confirmation email
- 24-hour reminder
- Waitlist for full sessions
Bottom line
A good workshop booking page removes uncertainty. The clearer the page, the less admin you do later, and the more likely booked seats become real attendees.